
How to Replace Recessed Lighting: A Step-by-Step Guide
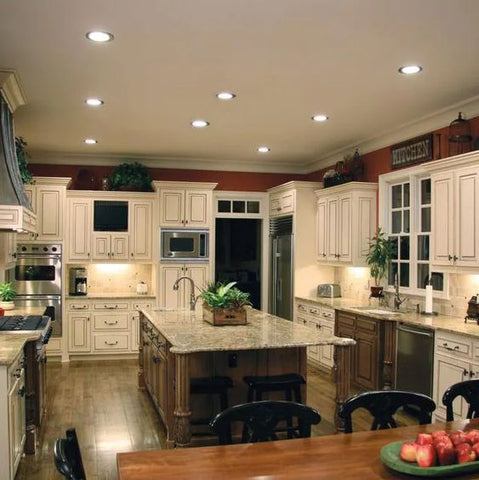
Recessed lighting is a popular choice for homeowners looking to create a modern and streamlined look in their living spaces.
In this guide, we'll take you through the step-by-step process of replacing recessed lighting, ensuring your home remains well-lit and aesthetically pleasing.
Tools and Materials Needed:
Replacement recessed light fixture
Ladder or step stool
Screwdriver (Phillips or flat-head, depending on your fixture)
Wire stripper or cutter
Voltage tester
Electrical tape
Wire connectors (wire nuts)
Safety goggles
Work gloves
Step 1: Turn Off the Power
Start by turning off the power to the existing recessed lighting fixture. Locate the circuit breaker panel in your home and flip the switch that controls the power to the fixture you'll be replacing.
Step 2: Remove the Old Recessed Lighting Fixture
Climb the ladder or use a step stool to access the old fixture. Most recessed lights are held in place with spring-loaded clips or screws. Gently push the clips inward or unscrew the fixture to release it from the ceiling. Carefully lower the fixture, exposing the wiring.
Step 3: Disconnect the Wiring
Next, disconnect the wires that supply power to the old fixture. Typically, you'll find three wires: black (hot), white (neutral), and green or bare (ground). Loosen the wire nuts that secure the wires together and detach them. Be cautious and avoid touching any bare wires with your hands.
Step 4: Install the New Recessed Lighting Fixture
Install the new recessed lighting fixture. Follow the manufacturer's instructions to properly connect the black, white, and green (or bare) wires of the new fixture to the corresponding wires from the electrical box. Secure the connections with wire nuts and wrap them with electrical tape for added safety.
Step 5: Secure the New Fixture
Carefully tuck the wires into the electrical box and position the new fixture into the recessed opening. If your fixture uses spring-loaded clips, push them outward to secure the fixture in place. For fixtures held by screws, tighten them to keep the fixture flush with the ceiling
Step 6: Test the New Fixture
With the new recessed lighting fixture securely installed, it's time to test it. Turn the power back on at the circuit breaker panel and use the light switch to ensure the fixture is functioning correctly.
Step 7: Make Final Adjustments
If the new fixture is working as expected, make any necessary adjustments to its positioning or direction to achieve the desired lighting effect in your room.